DIY: Nature-Inspired Magnets That Bring Fossils and Ocean Vibes to Life
FULL TUTORIAL BELOW:
Nature-Inspired Magnets – Subtle Beauty in a Raw Form
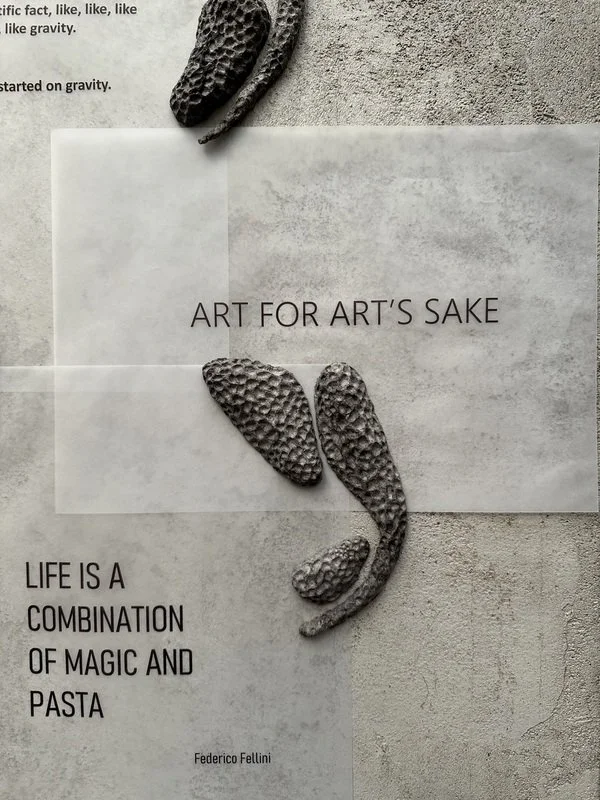
I love finding inspiration in nature, and this project is a reflection of that. The magnets I created are inspired by fossils, sea urchins, coral reefs, and volcanic rocks – all interpreted through my imagination. Their shapes, textures, and structures reflect a personal take on these natural forms, resulting in pieces that are minimalist yet full of character.
Shapes – Simplicity with a Touch of Freedom
I chose oval forms that are simple yet not boring. Their harmony comes from a subtle connection to nature, but I wasn’t aiming for precise replication. These shapes are more about imagining natural forms – a hint of underwater depths, a touch of rocky ruggedness. What’s great is that these forms are easy to create and leave plenty of room for experimentation and adding your own twist.
The process of shaping these magnets is both enjoyable and relaxing. It’s a way to escape from the everyday routine, and the final result always surprises – something unique and unplanned emerges every time.
A Gift for Nature Lovers and Adventurers
These magnets are more than just decoration. They make a perfect gift for anyone who appreciates the beauty of nature – whether it’s an interest in fossils, a fascination with the age of dinosaurs, or a love for the underwater world of coral reefs and sea urchins.
They’re also a wonderful choice for young adventurers – kids who are captivated by the mysteries of the world and eager to learn about the Earth’s history, oceans, or volcanoes. These magnets could be a great conversation starter about these fascinating topics and a way to inspire curiosity.
Colors Inspired by the Earth
I stuck to my favorite color palette. As always, I went with earthy tones: grays, browns, and beiges. This natural palette perfectly highlights the rawness of these forms and ensures the magnets blend seamlessly into any space.
I’ll admit, I occasionally think about trying out more vibrant colors, but earthy tones always win – they’re timeless, versatile, and allow the focus to remain on texture and shape.
Functional and Aesthetic
These magnets are both practical and decorative. They look great on a fridge or magnetic board while also doing their job – holding up shopping lists, drawings, or photos. They’re a subtle yet striking element that adds character to any space.
If you’re looking for a unique gift that combines a love of nature with a handcrafted touch, these magnets are the perfect choice – for nature enthusiasts and anyone who appreciates aesthetics inspired by raw, organic forms.
The project begins with two essential components: magnets and paper pulp. The magnets, as shown in the image, form the base of the entire construction and make the final project functional. Meanwhile, the paper pulp, which will be shaped into forms, gives the magnets their unique, organic look.
What you will need:
Small magnets
Paper pulp (link to the recipe below)
Paper
Pencil
Knife or another tool for smoothing the paper pulp
Tool with a rounded tip
Cellophane or a document sleeve
Tape
Optional: Paints
For the project, you will need flat magnets.
The first step is to draw a template on a piece of paper. This helps define the shapes you’ll be working with. Then, place a sheet of cellophane over the template. The cellophane will act as a base where you’ll apply the paper pulp and shape your designs.
Next, place a small magnet in the center of each outlined shape. This will serve as the functional core of your design, ensuring that the final piece can be used as a magnet.
To make it easier to apply the paper pulp, it’s best to secure the cellophane to the paper with tape. This keeps the surface stable and prevents it from shifting while you work.
Next, apply the paper pulp onto the outlined shapes. Gently press and shape the pulp to fit within the drawn template, ensuring it covers the magnet underneath and creates the desired form.
To achieve the desired shape and smoothness, you can use various tools, such as a knife or sculpting instruments. This helps refine the edges and surface for a more polished look.
Once you’ve shaped the form, let the piece dry slightly. It’s best to work with the paper pulp when it’s just slightly dry, as it becomes easier to create indentations. Using a tool with a rounded tip, make small indentations in the pulp to add texture and detail.
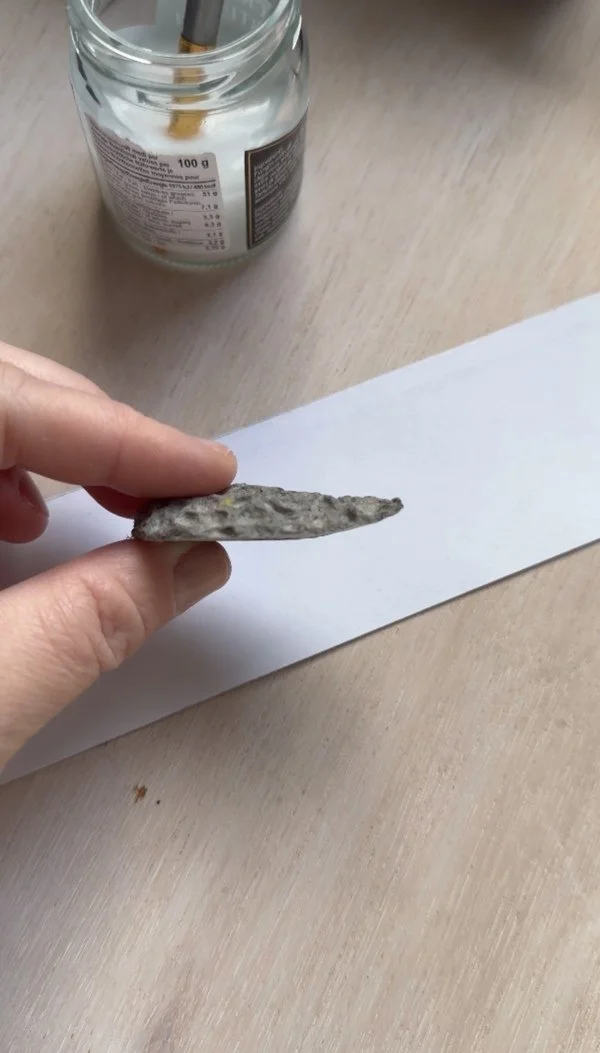
After shaping and adding texture, let the piece dry completely. The final form showcases the unique texture and detail achieved through the process, resembling a natural element like coral or volcanic rock.
Small pieces might bend slightly during the drying process. To see how to fix this issue, check out my video tutorial, where I share step-by-step instructions on how to correct it.
The final step is painting. Feel free to paint your little creations in any color you like to suit your style or mood. This is where your creativity truly shines!


