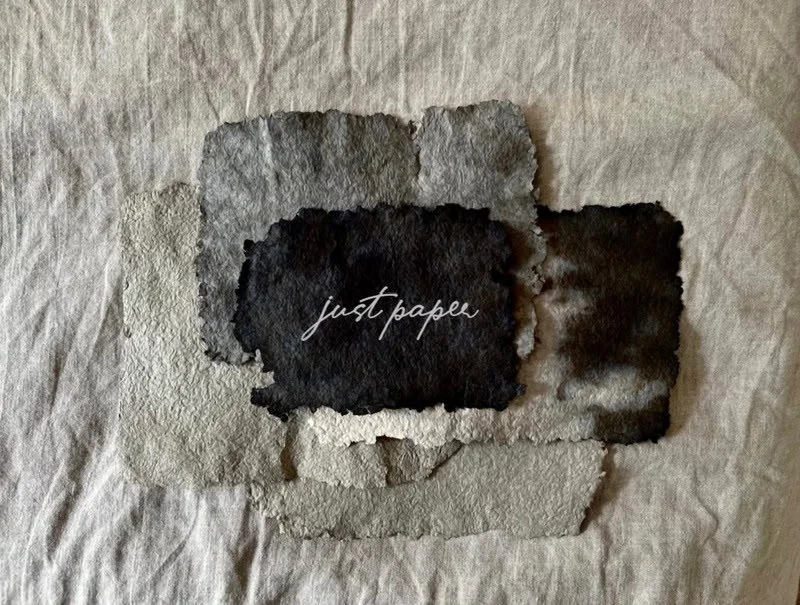
DIY: Turn Old Newspapers into Stunning Handmade Paper
Turn Old Newspapers into Beautiful Handmade Paper: A Creative Twist on Recycling
Who said recycling has to be boring? Today, I’m excited to show you how to turn old newspapers into something both beautiful and useful – handmade paper! But this isn’t just any paper. It’s a fun, artistic way to create your own unique sheets, with colors and textures you control, without needing traditional papermaking tools like screens or moulds.
A Simple Process, Big Satisfaction
If you’ve ever wanted to make paper but felt intimidated by the required tools, don’t worry! This method lets you get creative with just a few basic household items. Plus, you can dye the paper pulp to create a range of colors – from delicate, light shades to deep, rich hues. Whether you’re making greeting cards, posters, or just enjoying the process, this handmade paper is a versatile and eco-friendly craft to enjoy.
Color Control for Artistic Effects
By adjusting the color of the pulp, the possibilities are endless. Lighter pulp can be dyed in soft pastel shades, while darker pulp is perfect for creating deep greens, browns, and blacks. It’s an easy and fun way to experiment with upcycling, giving new life to materials that would otherwise end up in the trash.
Time for Your Creative Project!
So, if you’re ready for a mindful and artistic recycling project, this is the perfect place to start. In just a few simple steps, you can transform old, forgotten newspapers into beautiful, one-of-a-kind handmade paper.
What you will need:
old newspapers
scissors
blender
bowls
cloths for squeezing out water – old kitchen towels will work fine
paint (optional)
rolling pin
cellophane (the type used for bouquets)
knife
FULL TUTORIAL:
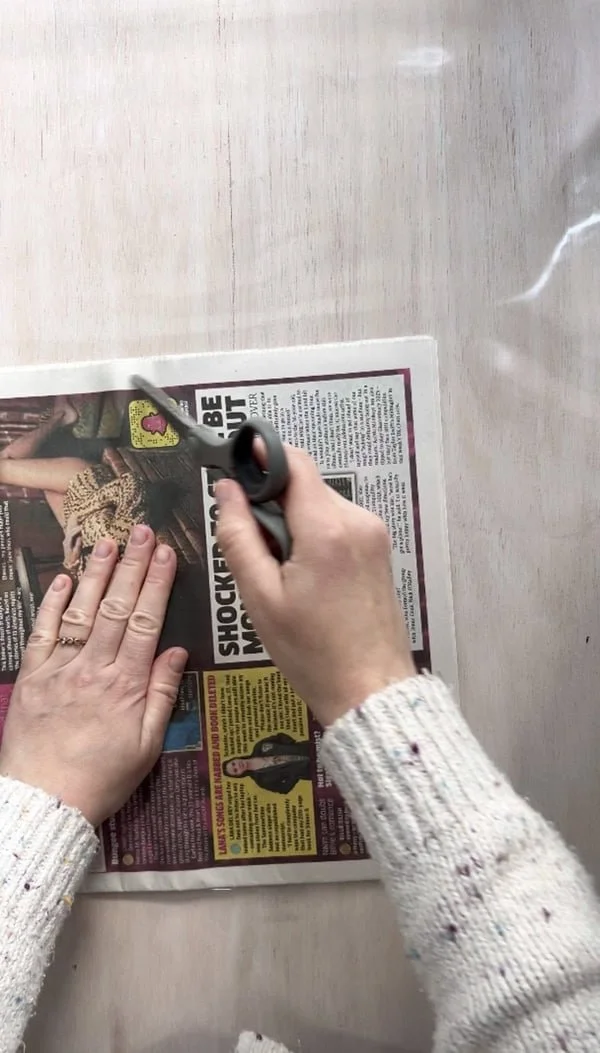
Step 1: Cutting the Light Edges of the Newspaper
Let's start with something simple – cutting off the light edges of the newspaper. These sections are usually pretty neutral, without much print or color. By separating these lighter pieces, you get more control, ensuring the pulp you’ll make later stays light. This gives you a great base if you want to play around with colors later on.
Step 2: Preparing the Darker Paper Pulp
If you want to get a darker pulp, use the rest of the newspaper – the parts with more print. The color that comes out is usually a shade of gray, but you can easily darken it by adding dyes in shades of brown, green, navy, or even black. Darker shades of red and pink might also appear, but they’ll lean more toward dark gray. This is a great option if you’re going for a more muted, deep-toned effect.
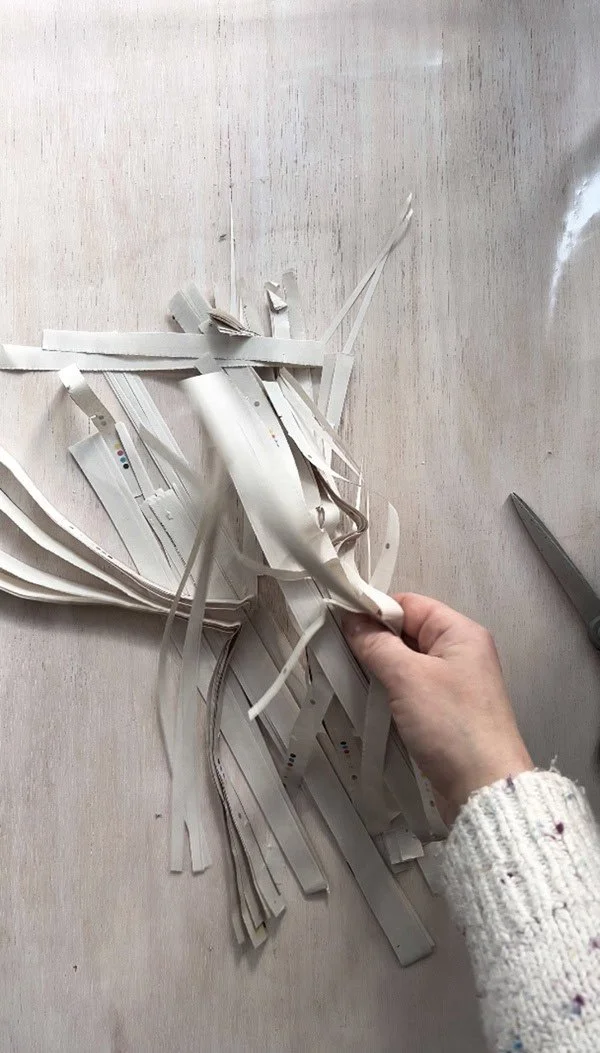
Step 3: Cutting the Strips into Smaller Pieces
Take the strips of newspaper you cut earlier and chop them into smaller pieces. Place them in a bowl, making sure to separate the lighter pieces from the darker ones – this will help you control the final color of your paper. Light pieces in one bowl, dark ones in another – and you’re all set!
Step 4: Soaking the Paper
Now, pour water over the cut-up paper. Make sure all the pieces are fully submerged and let them soak for a few hours – 2-3 hours should do the trick. During this time, the paper will absorb the water and be ready for the next steps.
Step 5: Blending the Paper
Now it’s time to bring out the blender. Blend the soaked paper into a pulp until you get a smooth mixture. This pulp will be the base for our handmade paper. A bit of blending, and you’re good to go!
Step 6: Draining the Water from the Paper Pulp
Now it’s time to get rid of the excess water. Use a cloth to gently press out the water from the paper pulp. It’s important to drain the pulp, but don’t dry it out completely – it should still be a bit damp so it’s easy to shape in the next step.
Step 7: Adding Color
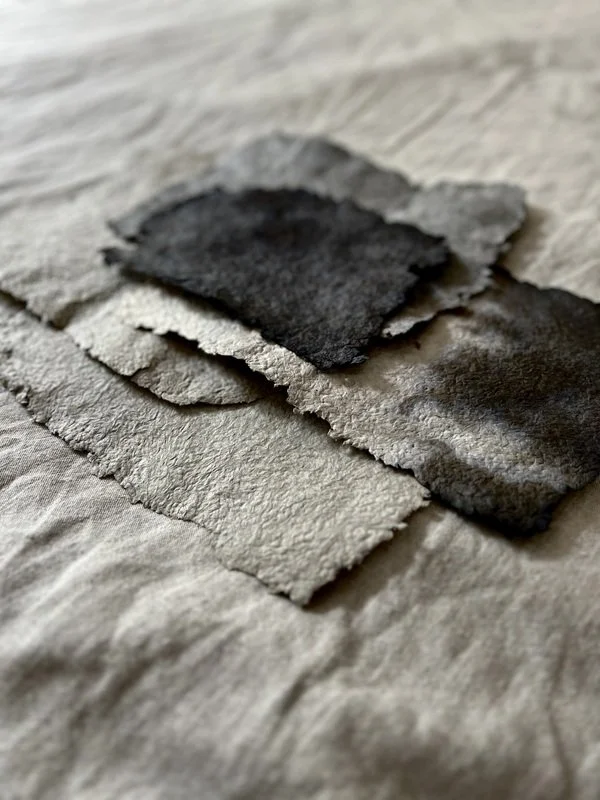
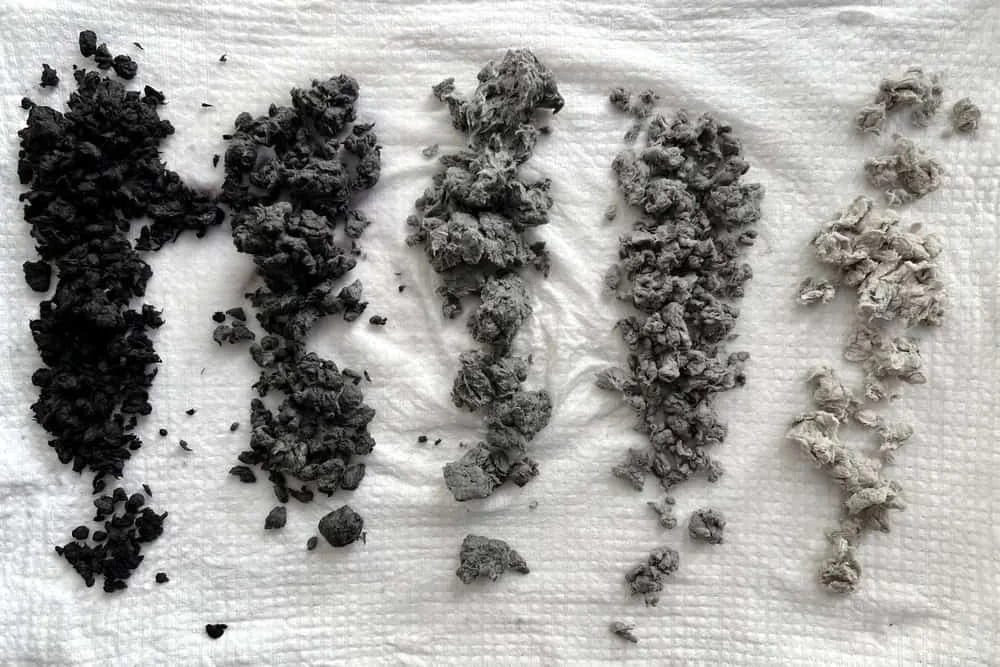
Now it's time for some color! Divide your pulp into a few bowls – depending on how many colors you want for your project. Then, add paint to each bowl and mix it well. You can do this with your hands, a fork, or whatever works best. This way, you’ll get different shades of pulp. In my project, I went for a gradient of greys.
Step 8: Shaping the Pulp and Preparing for Rolling
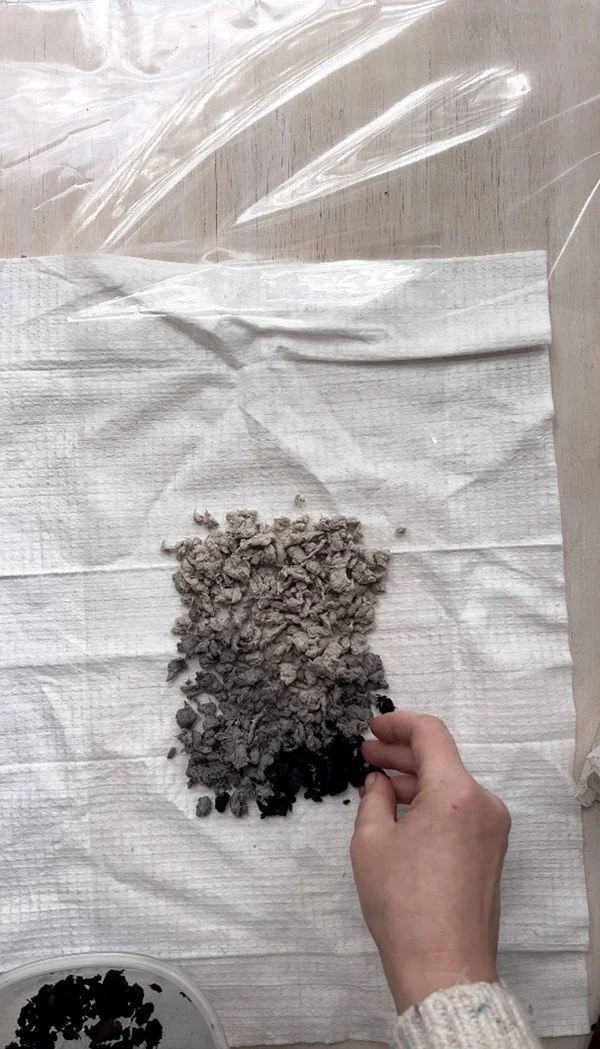
I place a piece of cellophane on a cloth and then spread the pulp, creating the desired pattern. The cloth underneath helps absorb the excess water that will definitely be squeezed out when rolling with a rolling pin. This is an important step because now the real shaping of the paper begins!
Step 9: Covering the Pulp
Once the pattern is arranged, I place a second piece of cellophane over it, making sure it completely covers the pulp. This helps keep everything in place as we start rolling, and the pulp begins to flatten into a sheet of paper.
Step 10: Gently Rolling the Pulp
Now, gently roll the pulp to spread it evenly and flatten it into a consistent thickness. The rolling pin helps remove any remaining water and shapes the pulp into a smooth, uniform sheet. Roll carefully to make sure the pulp is distributed evenly.
Step 11: Removing the Cellophane
Once you're happy with the results of the rolling, gently, in one smooth motion, remove the top layer of cellophane.
Step 12: Trimming the Edges
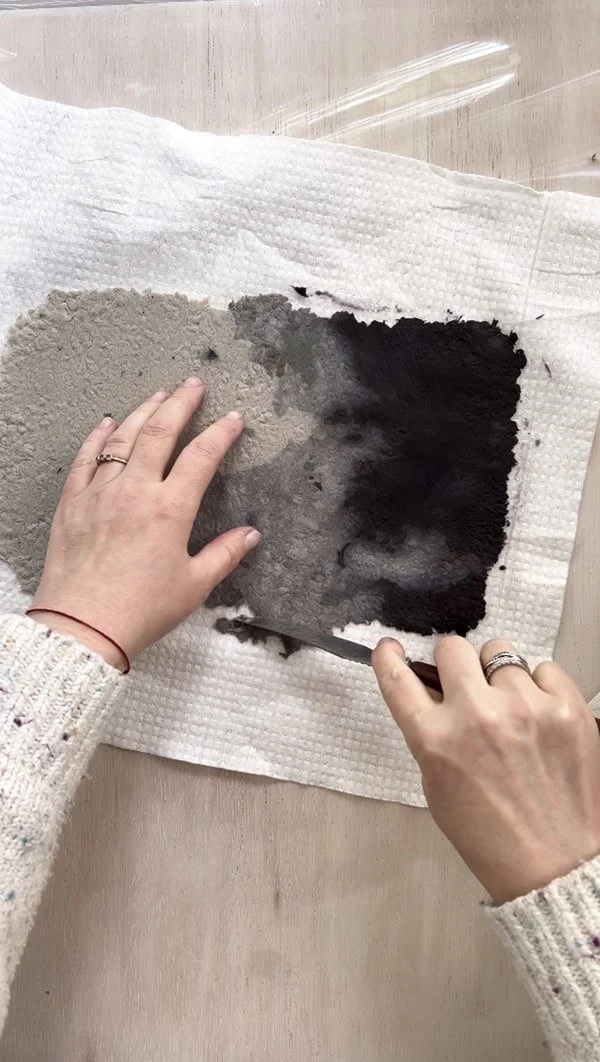
At this stage, you can trim the edges of your paper if you want a neater look. Use a knife or another tool to gently shape the edges and give your sheet a perfect finish.
Step 13: Transferring the Paper to the Cloth for Drying
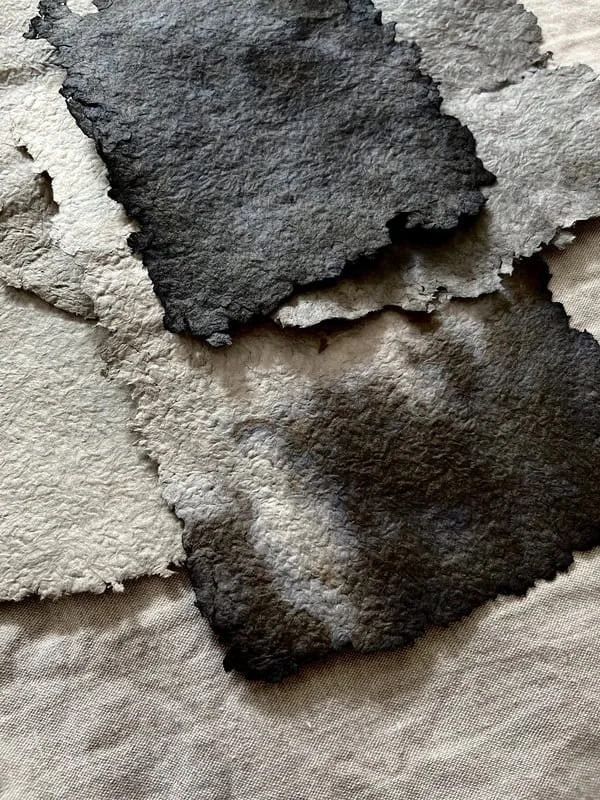
Finally, carefully transfer the paper onto the cloth, making sure it’s placed directly on the fabric. Then, gently remove the second layer of cellophane. Now, your paper can dry completely on the material until it’s ready to use.
