Metal Clips from Cans - A Simple and Creative Addition to Concrete Frames


FULL VIDEO BELOW:

The Challenge of Mounting Glass on Concrete Frames
For a while, I wondered how to attach glass or plexiglass to my concrete frames. Nails? Wires? But did I really want to lean that heavily into the industrial vibe? Plus, I wanted to use something recycled. Sure, you can add nails or other fasteners, and that would work just fine, but I wanted to try something different.
Aluminum from Cans as the Perfect Solution
Then it hit me: what if I used drink cans? The aluminum from these cans turned out to be a perfect solution. First—recycling. Second—the material is light, flexible, and sturdy enough to hold the glass securely. And on top of that, it looks pretty good.
My First Encounter with Can DIY
I’d never made anything from aluminum cans before, so I thought, "Why not?" It was a great chance to try something new. Aluminum is such a versatile material. Cutting, bending, shaping—it all went smoothly. I already know this won’t be the last time cans make an appearance in my projects.
Aluminum in Future Projects
I’ve already got a few ideas for using aluminum from cans in future projects. This material has a lot of potential—it fits both minimalist and industrial styles. But I’ll tell you more about that another time.
In the next steps, I’ll show you how to create these metal clips and attach them to concrete frames, step by step. It’ll be simple, creative, and with a nice recycling twist!
What You'll Need:
A can (like from soda)
A utility knife (a carpet knife works great)
A ruler
A pen or sharp tool to mark fold lines
Small pliers
A hammer
A wooden board or hard surface to place underneath when using the hammer
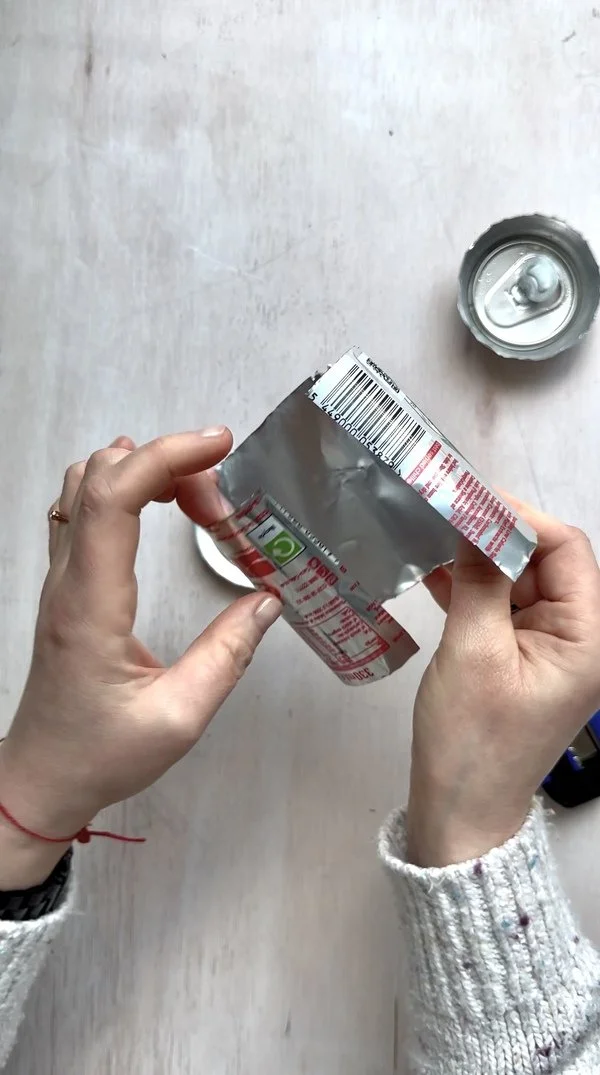
Step 1: Cutting the Can
First, we need to cut off the top and bottom of the can. What we're interested in is the middle section where you'll find a nice, flat piece of aluminum.

Step 2: Flattening the Metal
Next, we need to flatten the metal piece. Simply pull the stretched aluminum across the edge of a table a few times. This will help smooth out any curves and give you a flat surface to work with.
Step 3: Cutting the Aluminum to Shape
In the next step, we'll use pre-made paper templates to guide us. Cut the aluminum into rectangular shapes based on these templates.

Step 4: Marking the Fold Lines
Next, use a pen or a sharp tool to mark the fold lines on the aluminum. Use a ruler to keep the lines straight and precise.

Step 5: Folding the Aluminum
Now, fold the aluminum along the marked lines. If needed, use a knife or a hammer to press down the edges more firmly, ensuring crisp and secure folds.

Step 6: Final Folding with Pliers
Fold the piece again. Since there are now several layers of aluminum, use pliers to secure the final folds tightly.

Step 7: Securing with a Hammer
Next, use a hammer to press down and secure the final folds, ensuring the clip is sturdy and ready for use.

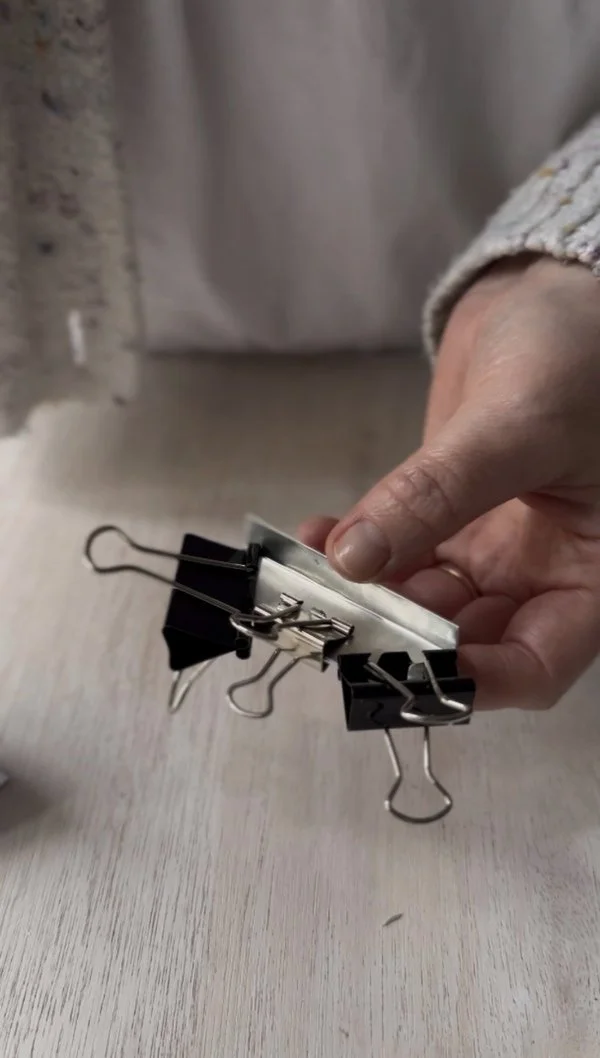
Step 8: Shaping the Clip
Now, it's time to shape the clip. One part of the clip will be hidden inside the concrete or wooden frame (you'll need to make small grooves to fit the clip securely), while the narrower section will hold the glass or plexiglass in place.

9. Glue the metal side
The next step is optional- you can glue the metal sides together to keep the entire clip secure. I used a two-part adhesive.