How Long Does Paper Pulp Take to Dry? – My Experiment and Drying Rituals
I’ve been asked many times how long it takes for paper pulp to dry. And honestly? It’s always been hard to give a clear answer. It depends on so many factors: the thickness of the form, air humidity, the type of surface it’s resting on, and of course, room temperature.
That’s why I decided to run a little experiment. I wanted to check how drying time changes depending on thickness and temperature. At the same time, I reflected on my own drying rituals and gathered them all here – maybe they’ll be helpful to someone.
The Experiment: Thickness & Temperature
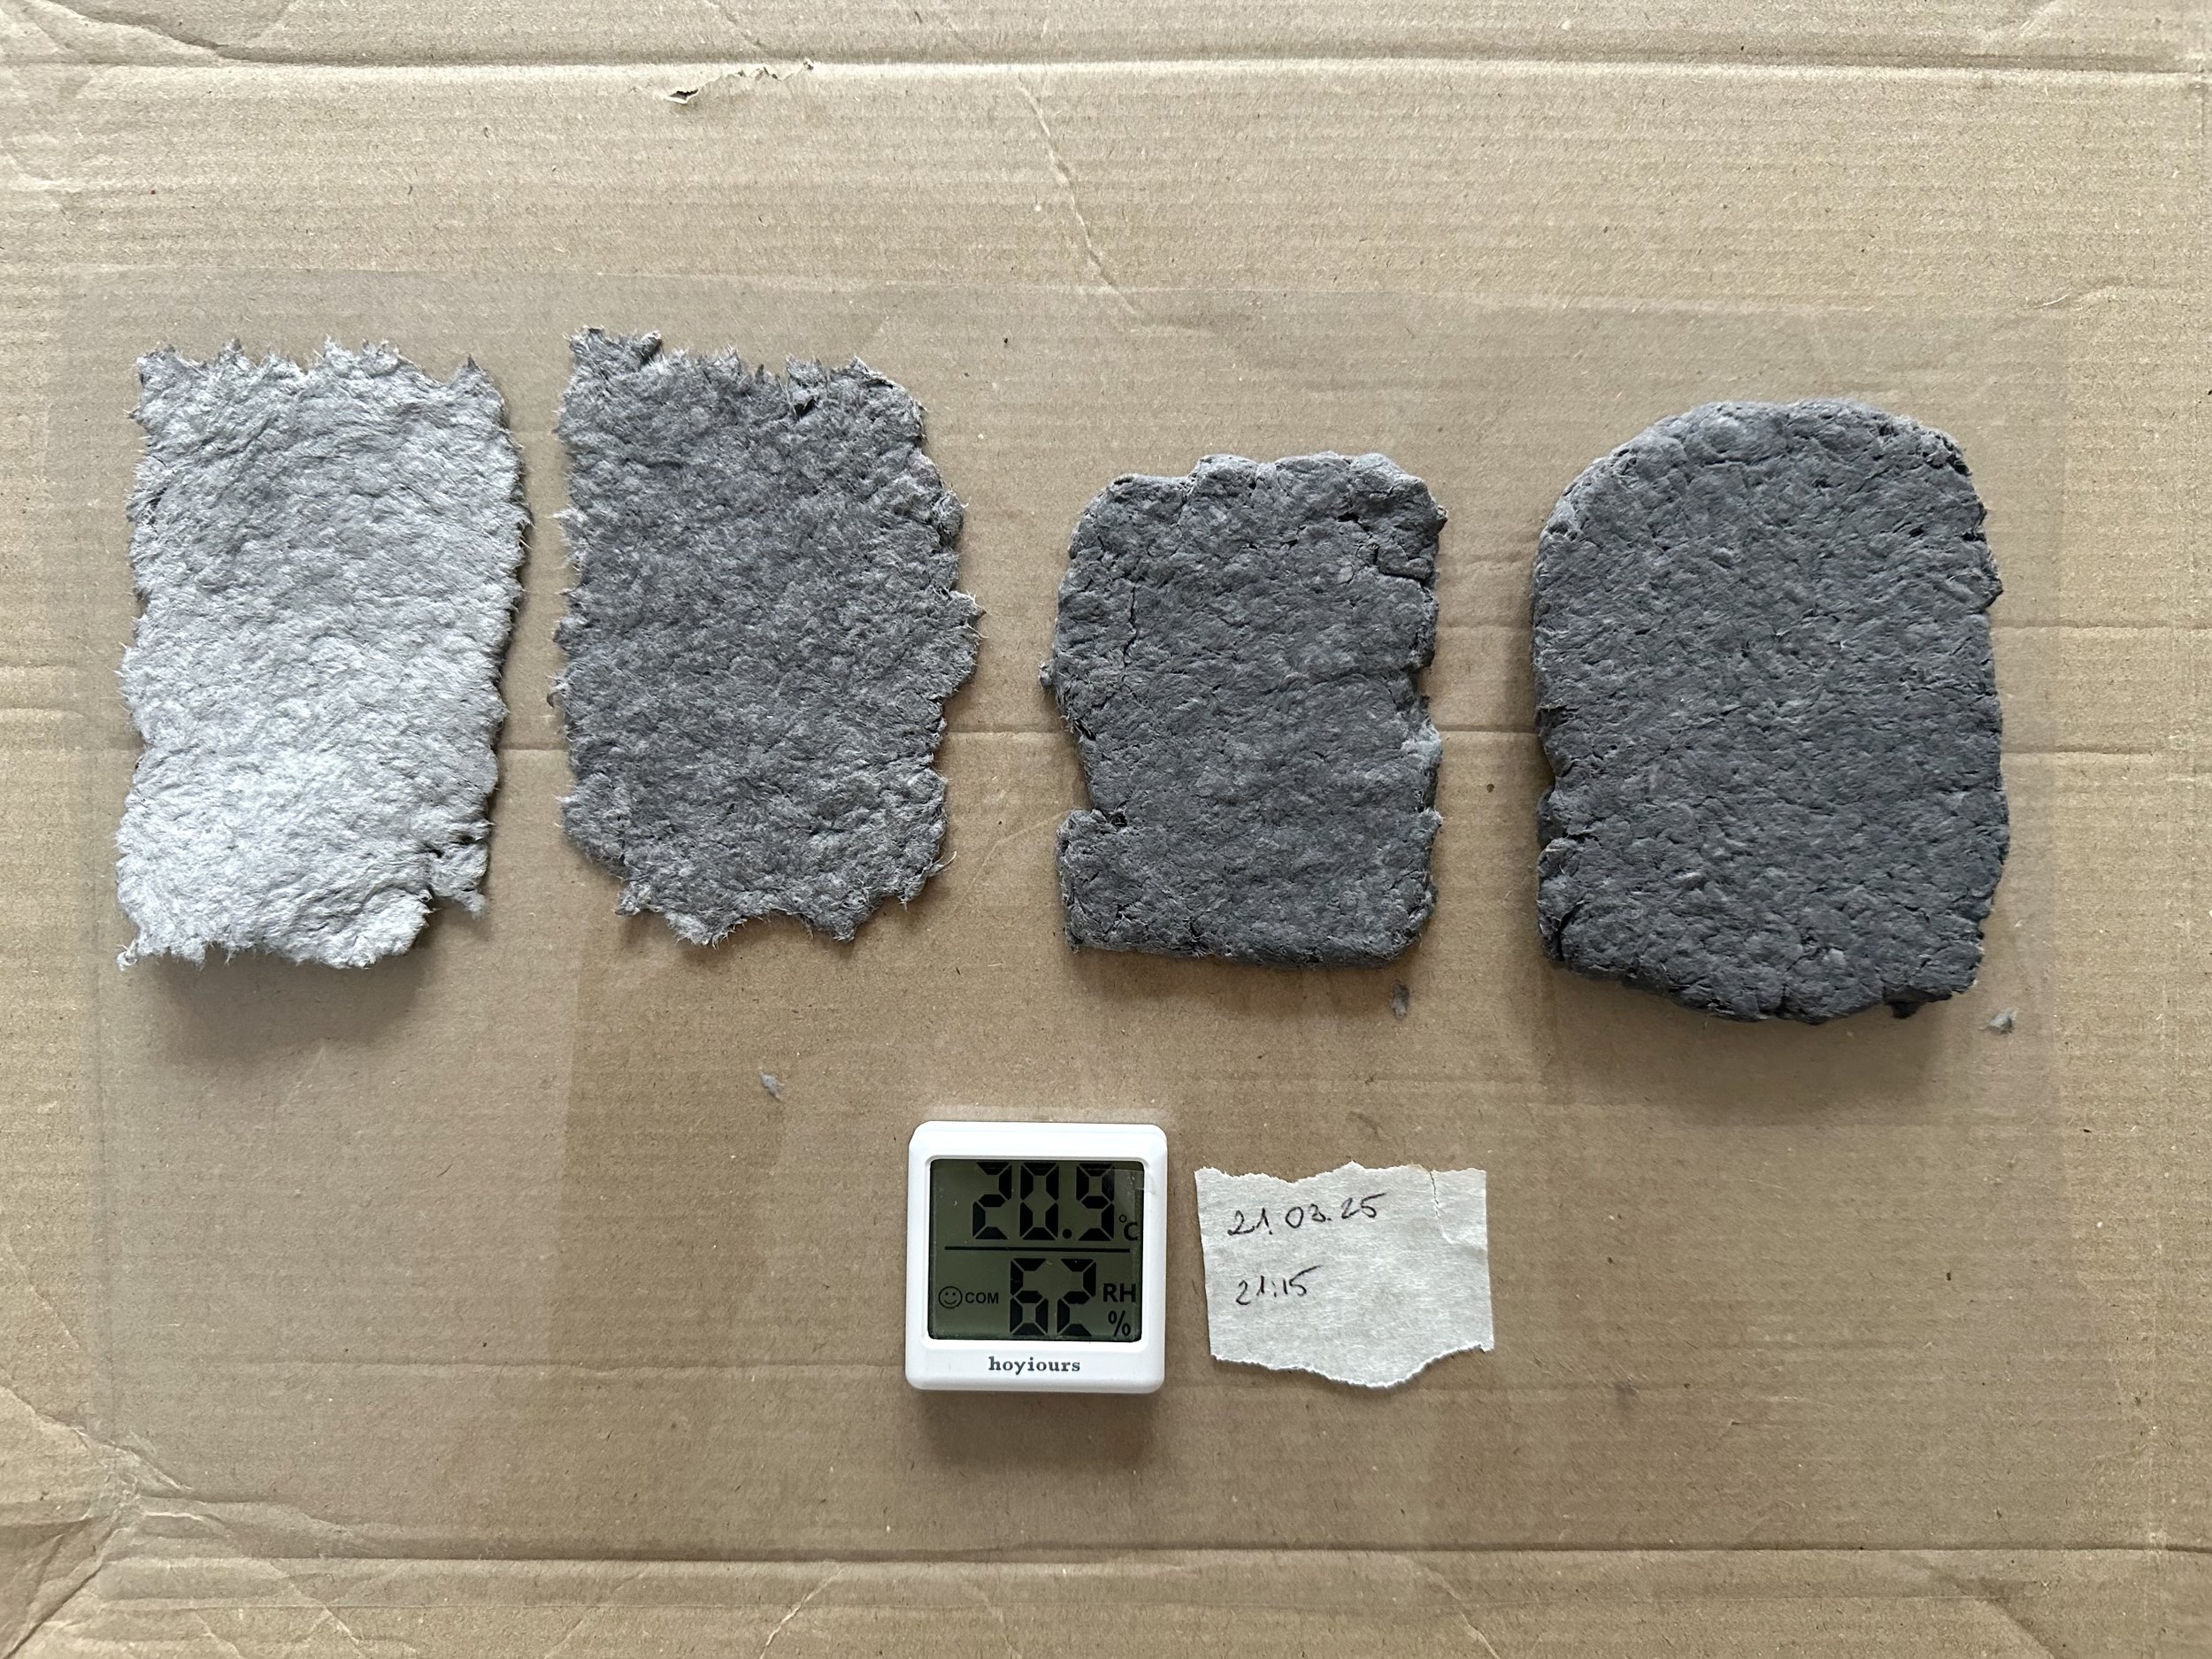
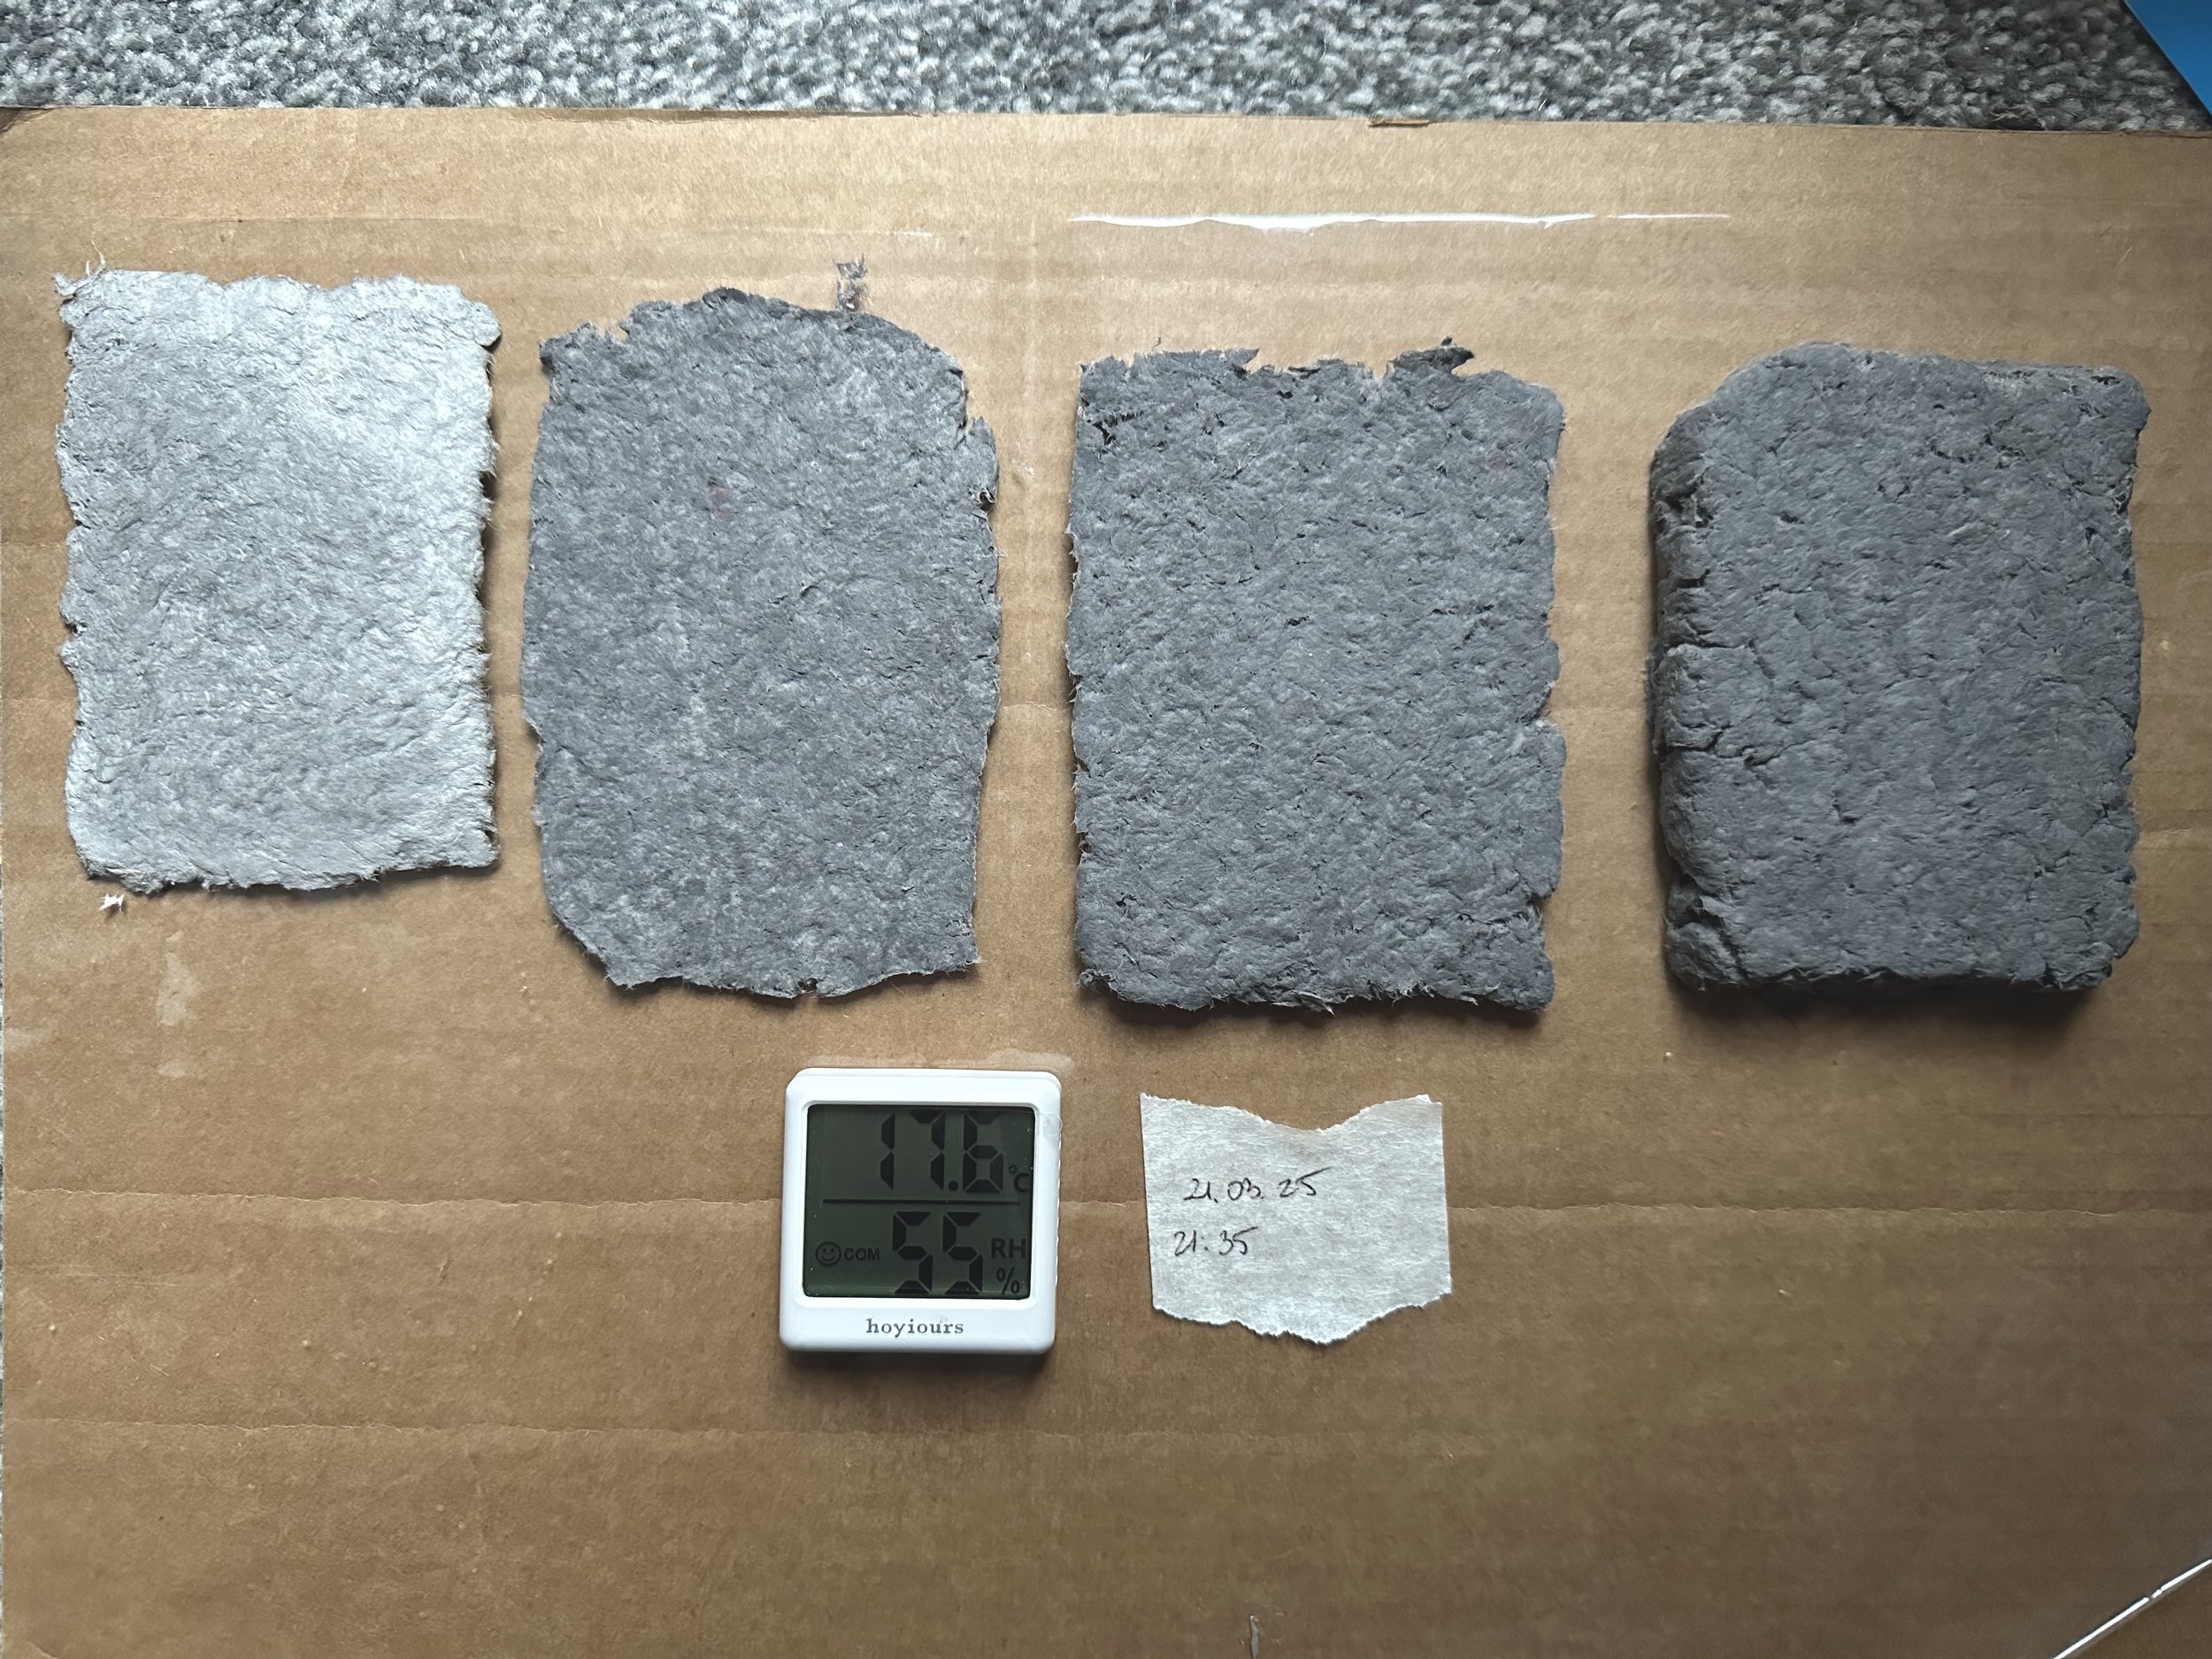
I prepared four samples of paper pulp: a very thin one (like a sheet of paper), a slightly thicker one, a 5 mm thick layer, and a 10 mm thick one. I made two copies of each – one set dried at 20.9°C and the other at 17.6°C.
The thinnest sample was fully dry after about 1.5–2 days. The slightly thicker one needed just over 2 days. The 5 mm sample took 4–5 days, and the thickest one – around a week.
As for the temperature, the difference wasn’t dramatic – the warmer setting shortened drying time by a few to several hours, but it didn’t change the overall process significantly.
Slowness as Part of the Process
I don’t use a hairdryer, oven, or any kind of quick-drying methods. That kind of approach just doesn’t suit me – I create slowly, with respect for the material and the process.
I’m also not sure how PVA glue reacts to very high temperatures – whether it releases any unwanted substances or affects the structure of the piece. So I don’t use the oven, not just for philosophical reasons, but for practical ones too.
In winter, I usually place my work near the radiator to take advantage of heat that’s already being produced. If I’m working with a larger piece and I know the centre will take a long time to dry, I sometimes place it directly on the radiator. But I only do that when I’m confident the form is strong enough to hold its shape and faster drying won’t distort it.
Warm Days & Drying Outdoors
During the warmer months, I often dry my pieces outside. Natural light and fresh air speed things up, but you do need to be careful – too much direct sun can cause warping or even cracking, especially with thicker forms.
The best conditions are light shade and good air circulation. Sometimes I rotate the pieces or gently weigh them down to help them keep their shape.

Little Tricks: Cloths & Checking In
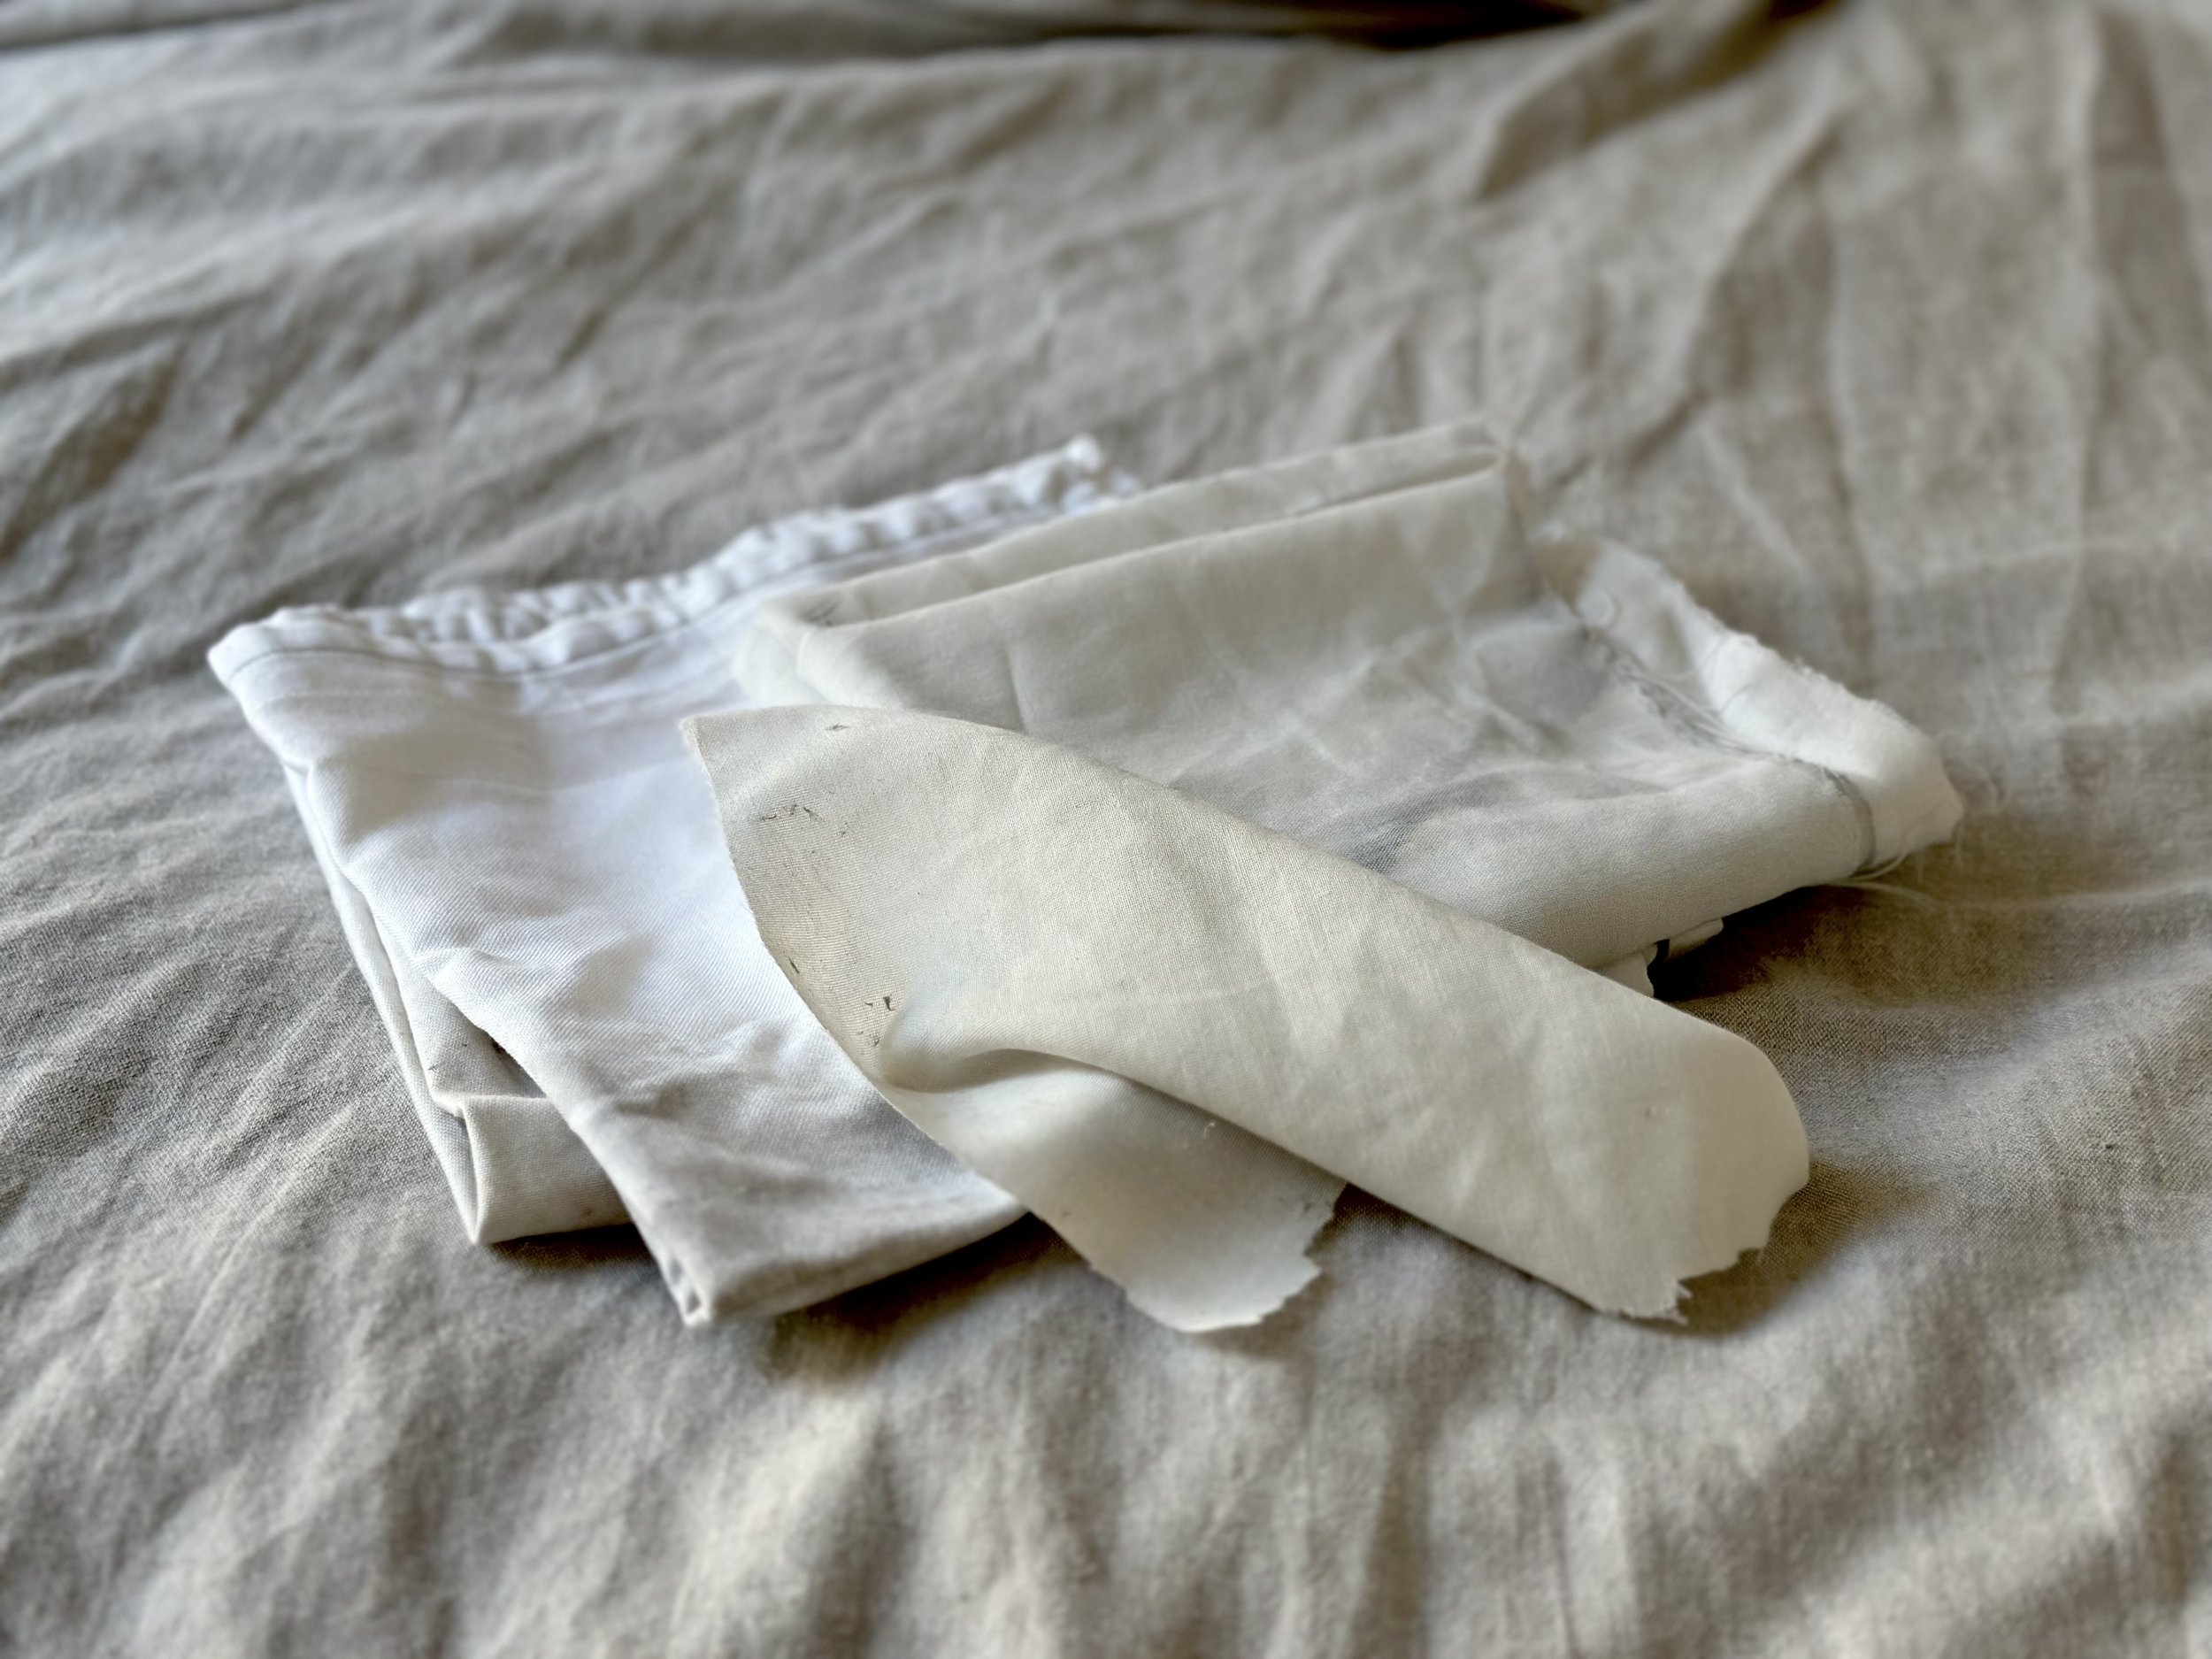
Absorbent cloths work beautifully – I place damp elements on them, and they draw moisture from underneath, speeding things up. I swap the cloths every now and then – it really makes a difference.
I don’t use sponges or press out excess water – my pulp is never wet enough to need that.
How Do I Know When It’s Dry?
You can usually see it. The surface becomes matte and even, with no darker, damp spots. For thicker forms, they simply need to be hard – they shouldn’t give in when you press them gently.
I also know that overly fast drying (like direct sun or high heat) can lead to warping. But that’s easy to manage – with flipping, gentle pressure, or simply choosing the right drying spot.
My Drying Ritual
The space where I create is usually cooler than the rest of the house. So I often move my finished forms somewhere warmer – near radiators or on windowsills that catch more sun.
In summer, I take them outside. I check on them regularly – turning them, changing out cloths, sometimes weighing them down slightly to help keep their shape.
If you have your own drying tricks, I’d love to hear them. And if you have any questions – feel free to reach out ♥