DIY: How to Make Elegant Napkin Rings with Eucalyptus and Gold Accents
Small Details, Big Impact
There’s nothing quite like a beautifully set table, right? I arrange each plate and detail with care because I truly believe these little touches make all the difference. The way a table looks can completely change the atmosphere of a gathering, making it feel more special, warm, and, well... cozy. I love those moments when my guests feel welcomed the moment they sit down at a table filled with beautiful, natural accents.
A Touch of Nature
I have a soft spot for natural decorations. A sprig of eucalyptus, a hint of raw paper, delicate gold accents – these elements add a subtle charm to the table, bringing in a sense of harmony and calm. Whenever I can, I try to bring a bit of nature indoors because I believe these simple elements can truly transform a space. We don’t need much to create something beautiful – sometimes, just a small touch is enough.
The Joy of DIY
Creating my own decorations is something that relaxes me and brings so much satisfaction. Every napkin ring I made turned out a bit different, each with its own unique character and charming imperfections. I love when each element of the table has its own story and one-of-a-kind look. DIY projects are not only fun but also a way to express myself. And, most importantly, it brings me so much joy to see my guests appreciate these little touches!
Add a Personal Touch
Today, I want to share a simple recipe with you for natural napkin rings with eucalyptus accents. It’s a wonderful way to add a special atmosphere to the table and create something with your own hands. After all, it’s these small, personal touches that make our time at the table even more magical.
FULL VIDEO BELOW:
Here’s what you’ll need:
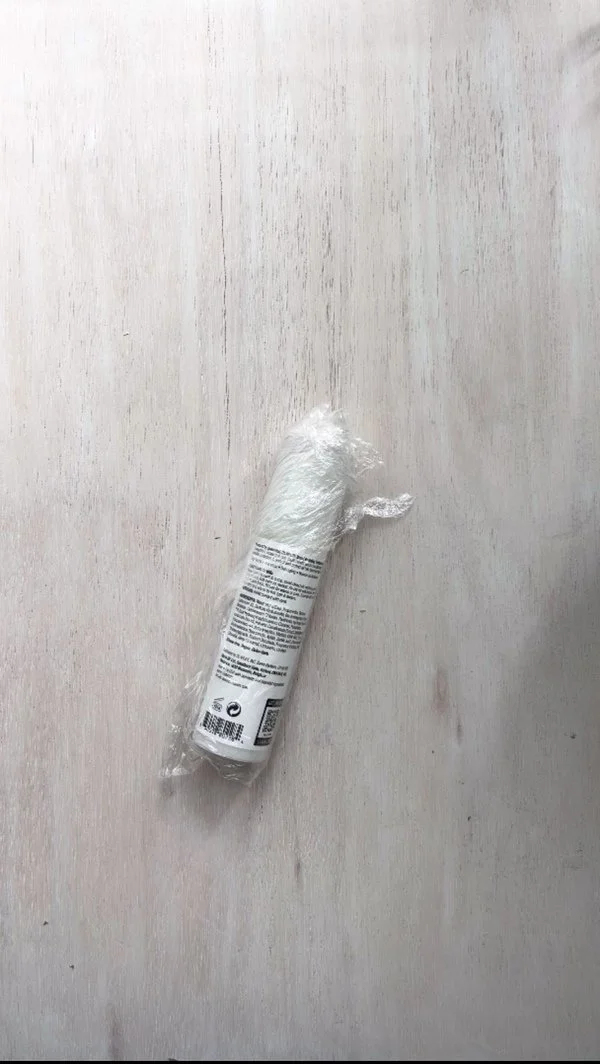
A long box or cardboard tube (like the inner tube from a paper towel roll). I used a long, round box from a cosmetic product.
Plastic wrap.
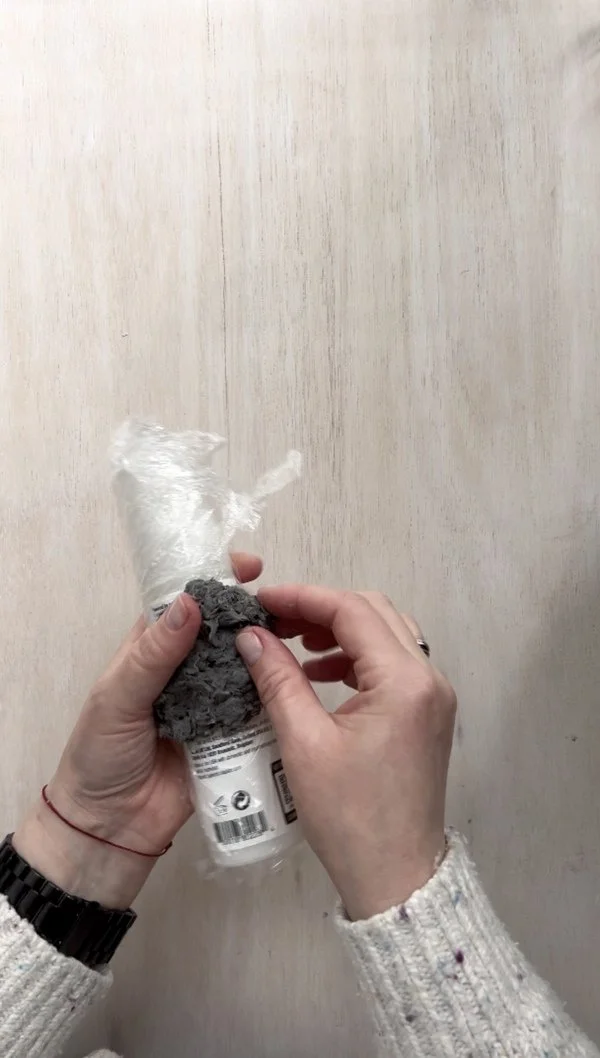
Paper pulp (below is a link to show you how to make it).
Eucalyptus branches – or other plants. Feel free to choose your own greenery to style the rings.
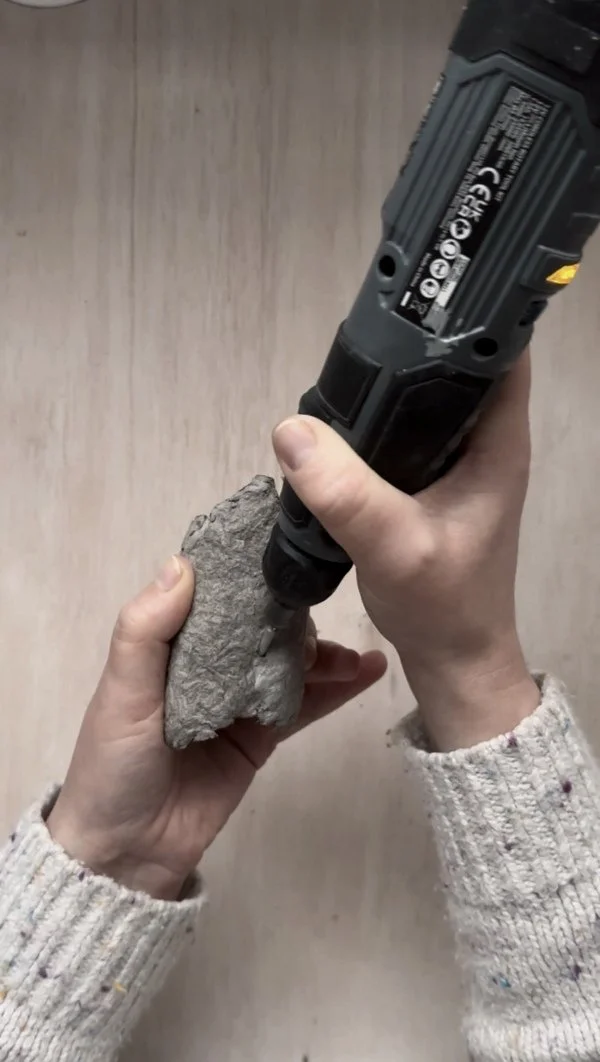
A mini drill (mini rotary tool) – or if you don’t have one, making small holes in a thin piece of dried pulp should be easy with a simple tool.
Sandpaper (optional – if you feel your rings need some smoothing).
A marker or something else to mark the spots where the holes will go.
Paint – optional if you want to add some shine, shimmer, or a bit of sparkle.
Knife
Step 1: Wrapping the Tube with Plastic Wrap
To begin, wrap the chosen tube (this can be a cardboard tube from a paper towel roll or another long, round container) with plastic wrap. This will protect the tube's surface and make it easier to remove the paper pulp once it’s dry, preventing it from sticking to the form.
Step 2: Applying the Paper Pulp
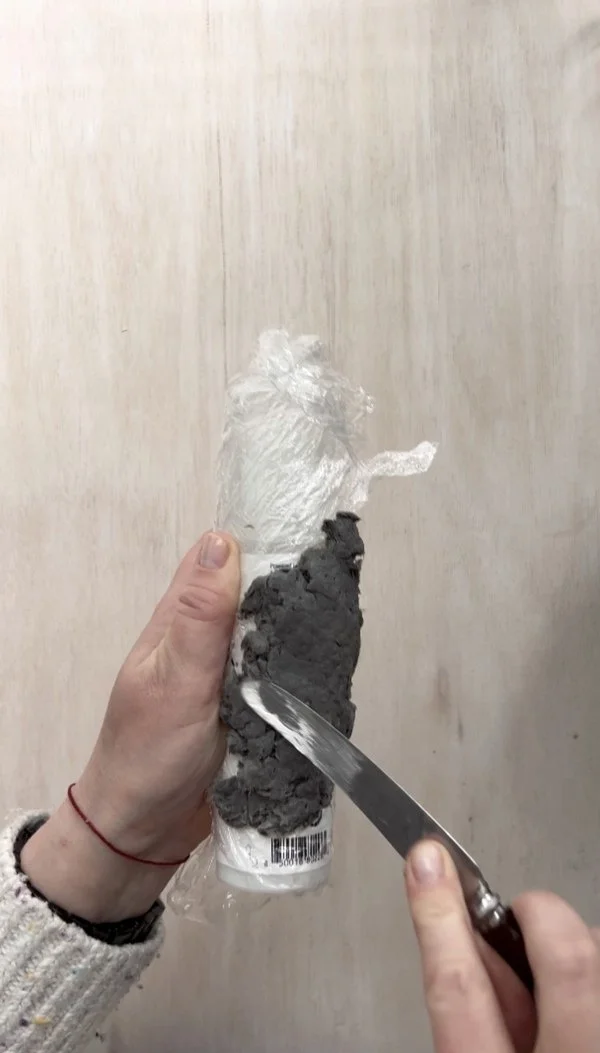
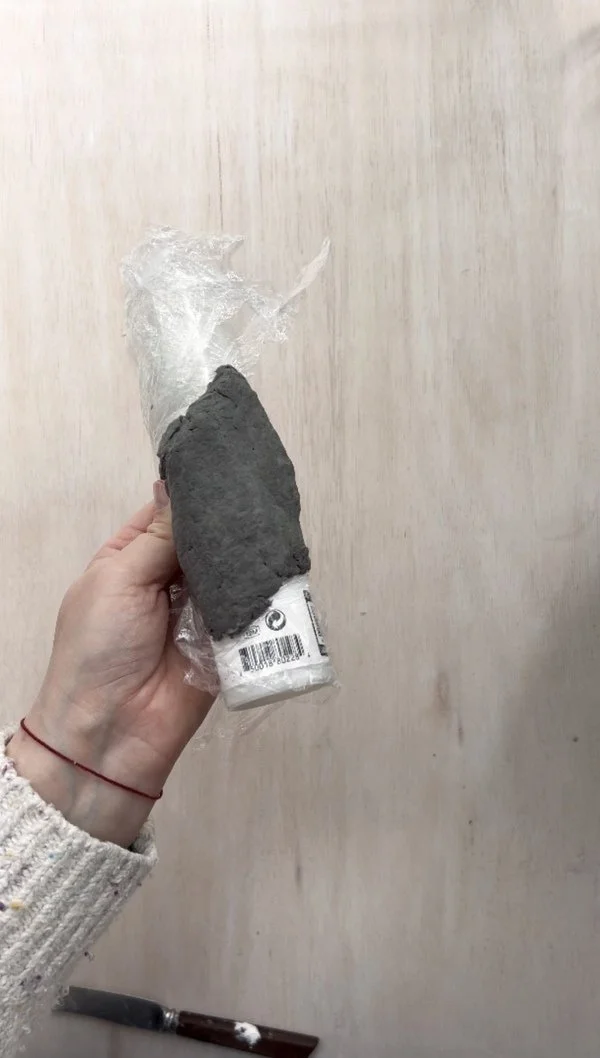
In this step, apply the paper pulp onto the wrapped tube. If you don’t have a clear shape in mind, you can cut out a shape from paper, place it between the packaging and the plastic wrap, and simply follow its outline as a guide for forming the pulp. In this step, apply the paper pulp onto only half of the tube's circumference. This is because the pulp needs to dry while lying flat, and if you applied it all the way around, the bottom part would simply detach. Allow this first half to dry completely before proceeding to cover the other side.
Smooth the paper pulp using a knife or another flat tool. This will help create an even surface for the napkin ring, giving it a more polished look once it’s dry.
Next, set the entire piece aside to let the paper pulp dry completely. This step ensures the pulp hardens and retains its shape before proceeding to the other side.
Step 3: Applying Pulp to the Other Half
Once the first half of the ring has dried, you can begin applying paper pulp to the remaining part of the tube. Smooth the pulp carefully as you did before to maintain an even texture.
After applying pulp to the entire surface, set the piece aside once again to let it dry completely. This ensures the napkin ring hardens uniformly and is sturdy enough for use.
In the meantime, if you feel that your ring needs a smoother finish, use sandpaper to refine the surface. This step will help achieve a more polished and even texture, making the ring look more finished.
Step 4: Attaching the Botanical Elements
Once the entire ring is completely dry, it's time to add the botanical elements. Use your chosen branches (eucalyptus or other plants) and attach them to the ring, creating a natural and decorative touch.
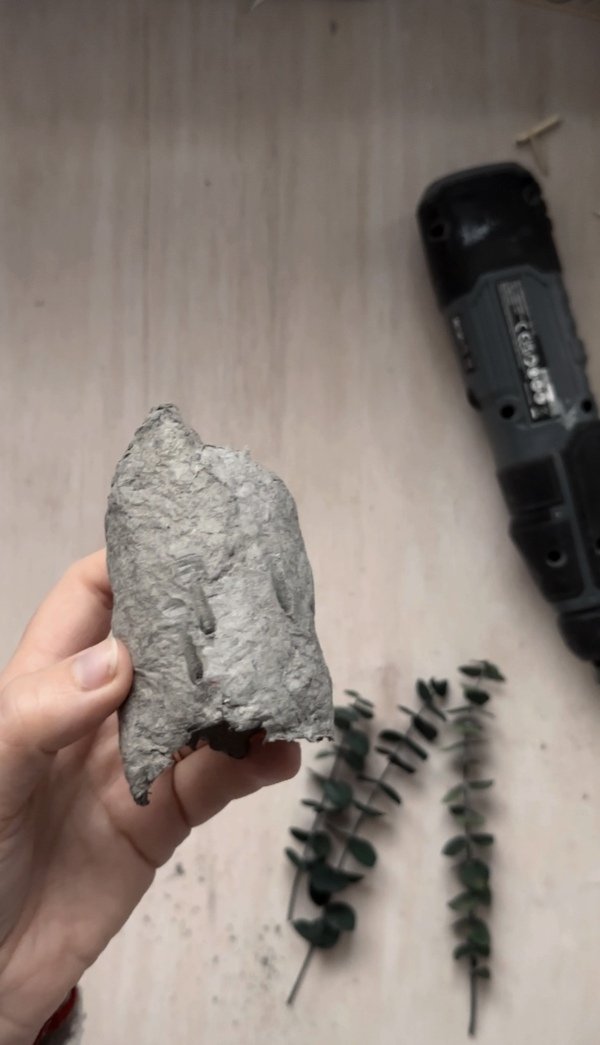
Start by drilling holes in the spots you previously marked. These holes will be used to attach the botanical elements securely to the ring.
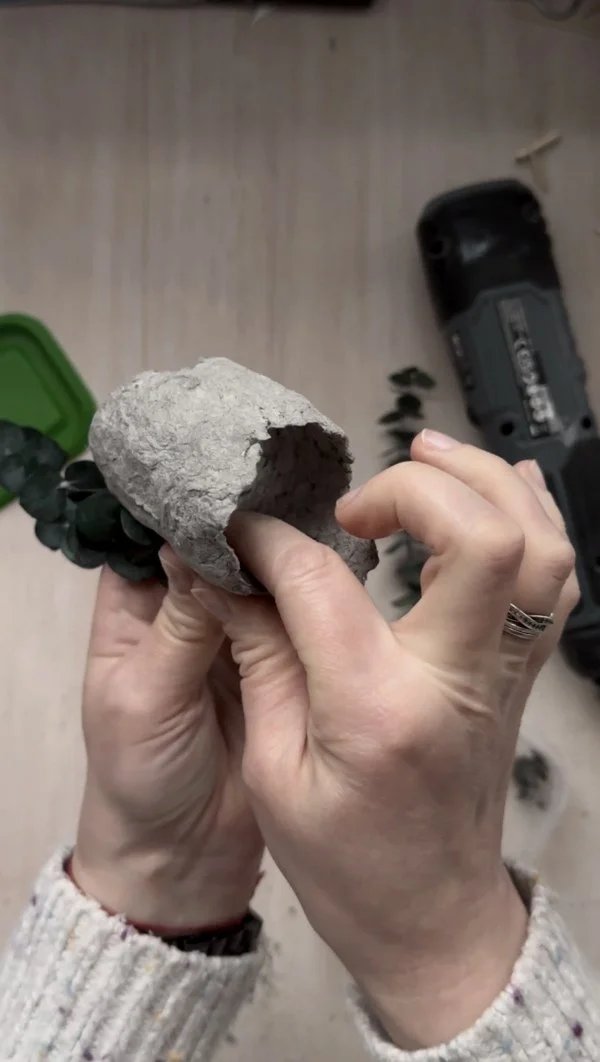
In the next step, insert the branches into the drilled holes and secure them from the inside with a bit of paper pulp. This will keep the botanical elements firmly in place and add stability to the overall structure.
Seal the holes from the outside as well, covering them with a bit of paper pulp. This will help secure the botanical elements firmly in place and give the ring a smoother finish.
Set the ring aside to dry completely. At this stage, you can also shape the branches to your liking. If you want your branches to have a slight curve, like I did, use binder clips to secure them to the edge of a round bowl or container to create the arched shape.
Step 5: Adding Final Touches with Gold Accents
In the final step, if you’d like, you can add gold accents to enhance the look. I used gold paint to add a subtle touch to both the ring and a few eucalyptus leaves, giving the piece a bit of shimmer and elegance.


